Enabling Voice Commands On Android
I’m not a big fan of “always on” smart speakers such as Google Home, Alexa, etc. To me, it’s just too creepy to have a speaker closely tied to the Internet, built by companies with a vested interest in knowing more about you that’s always on and listening. If you’re paranoid like me, here are some steps to get on-demand (ie: requiring a button press) voice recognition on your smart phone that will work with SwitchBoard.
- You’ll need Tasker for Android.
- Open Tasker and go to the “Tasks” tab.
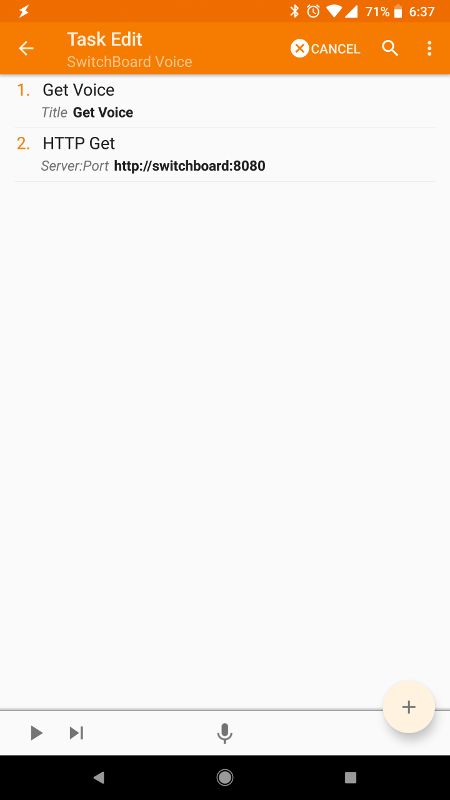
- Click the “+” in the bottom right to create a new task. Enter “Voice” (or something) as the name.
- Inside the “Voice” task, click the “+” to create a new
Action.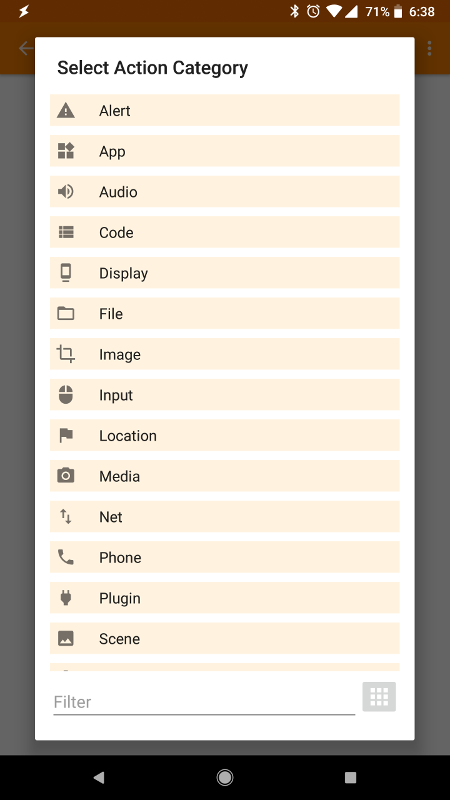
- Click
Input, thenGet Voice. You can leave the settings forGet Voicedefault.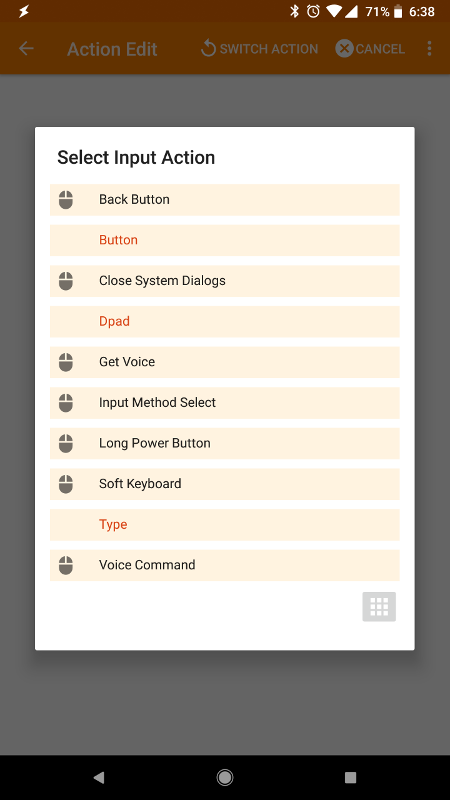
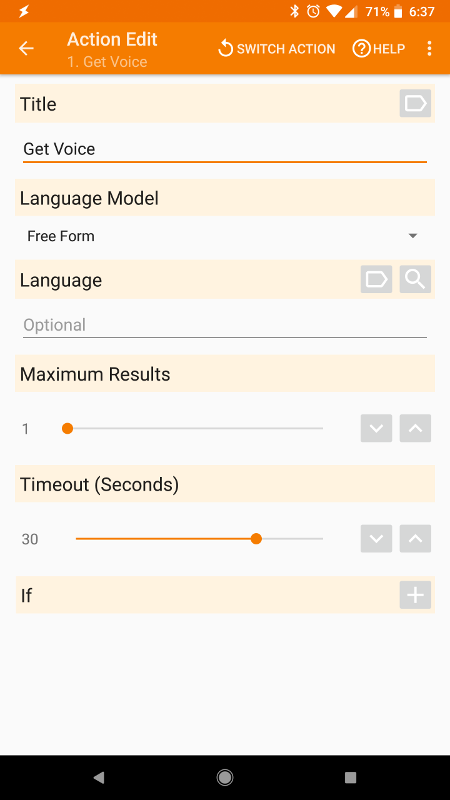
- Go back to the “Voice” task and click the “+” again to create another new
Action. - This time, click
Net, thenHTTP Get.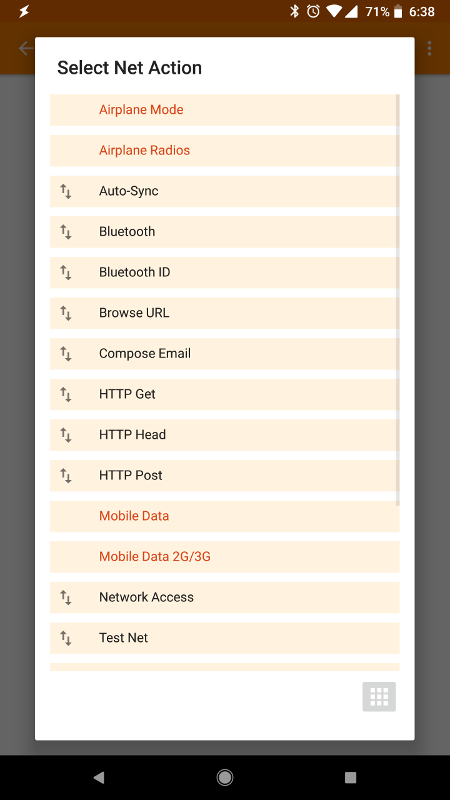
- Inside the settings for the network action, specify your
Server:Port. - For the
Path, enter:?gerty=text-%VOICE. Note, if you’ve changed Gerty’s deviceId from the default in SwitchBoard, change that here to match.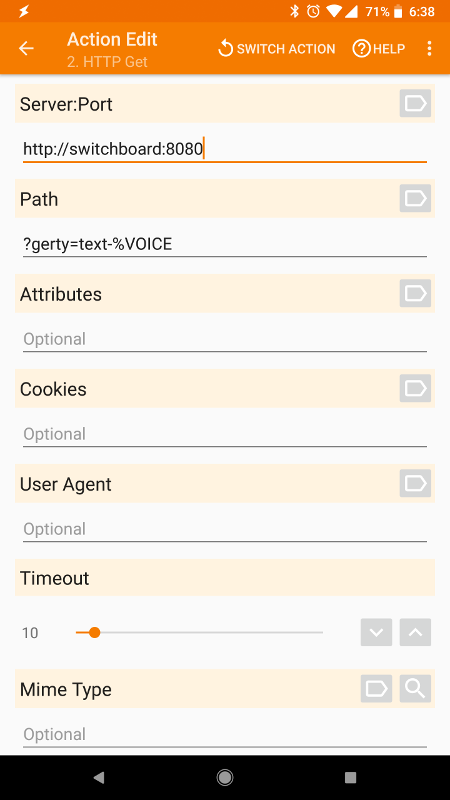
- In the main “Voice” task page, you’ll see an icon in the bottom center. Clicking this allows you to associate an icon. I had chosen
Materialand searchedVoice.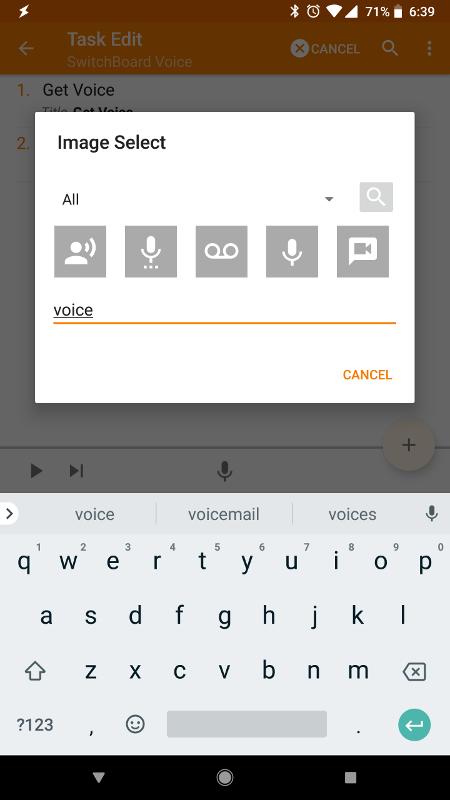
- Back at the home screen of your phone, long press on an empty space. When the menu pops up, selected
Widgets. Scroll down toTaskerand hold theTaskicon and drag it to your home screen. - In the
Task Selection, choose your new “Voice” task.
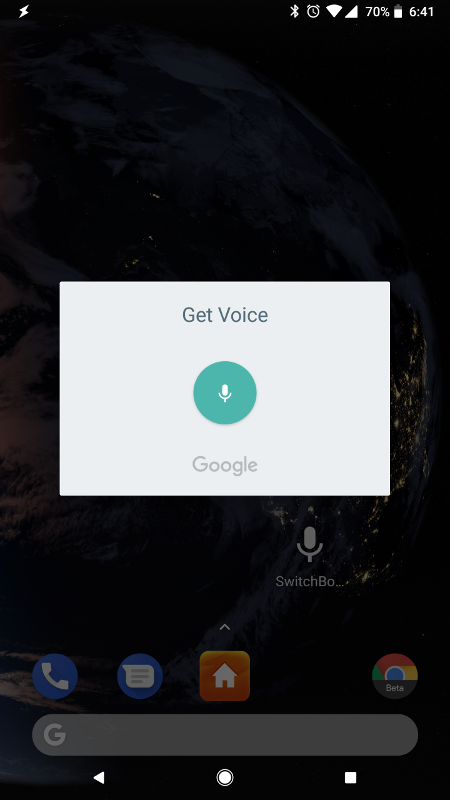
You should now have an icon on your home screen allowing you to quickly fire voice commands to SwitchBoard.
Written on January 8, 2018
